Our First Assembly Workshop of the Brand New Original Prusa I3 MK2


*All links to MK2 are redirected to the MK3
(file source: http://www.thingiverse.com/thing:246198)
Original Prusa i3 MK2 3D printer is now available in Montreal, Canada.
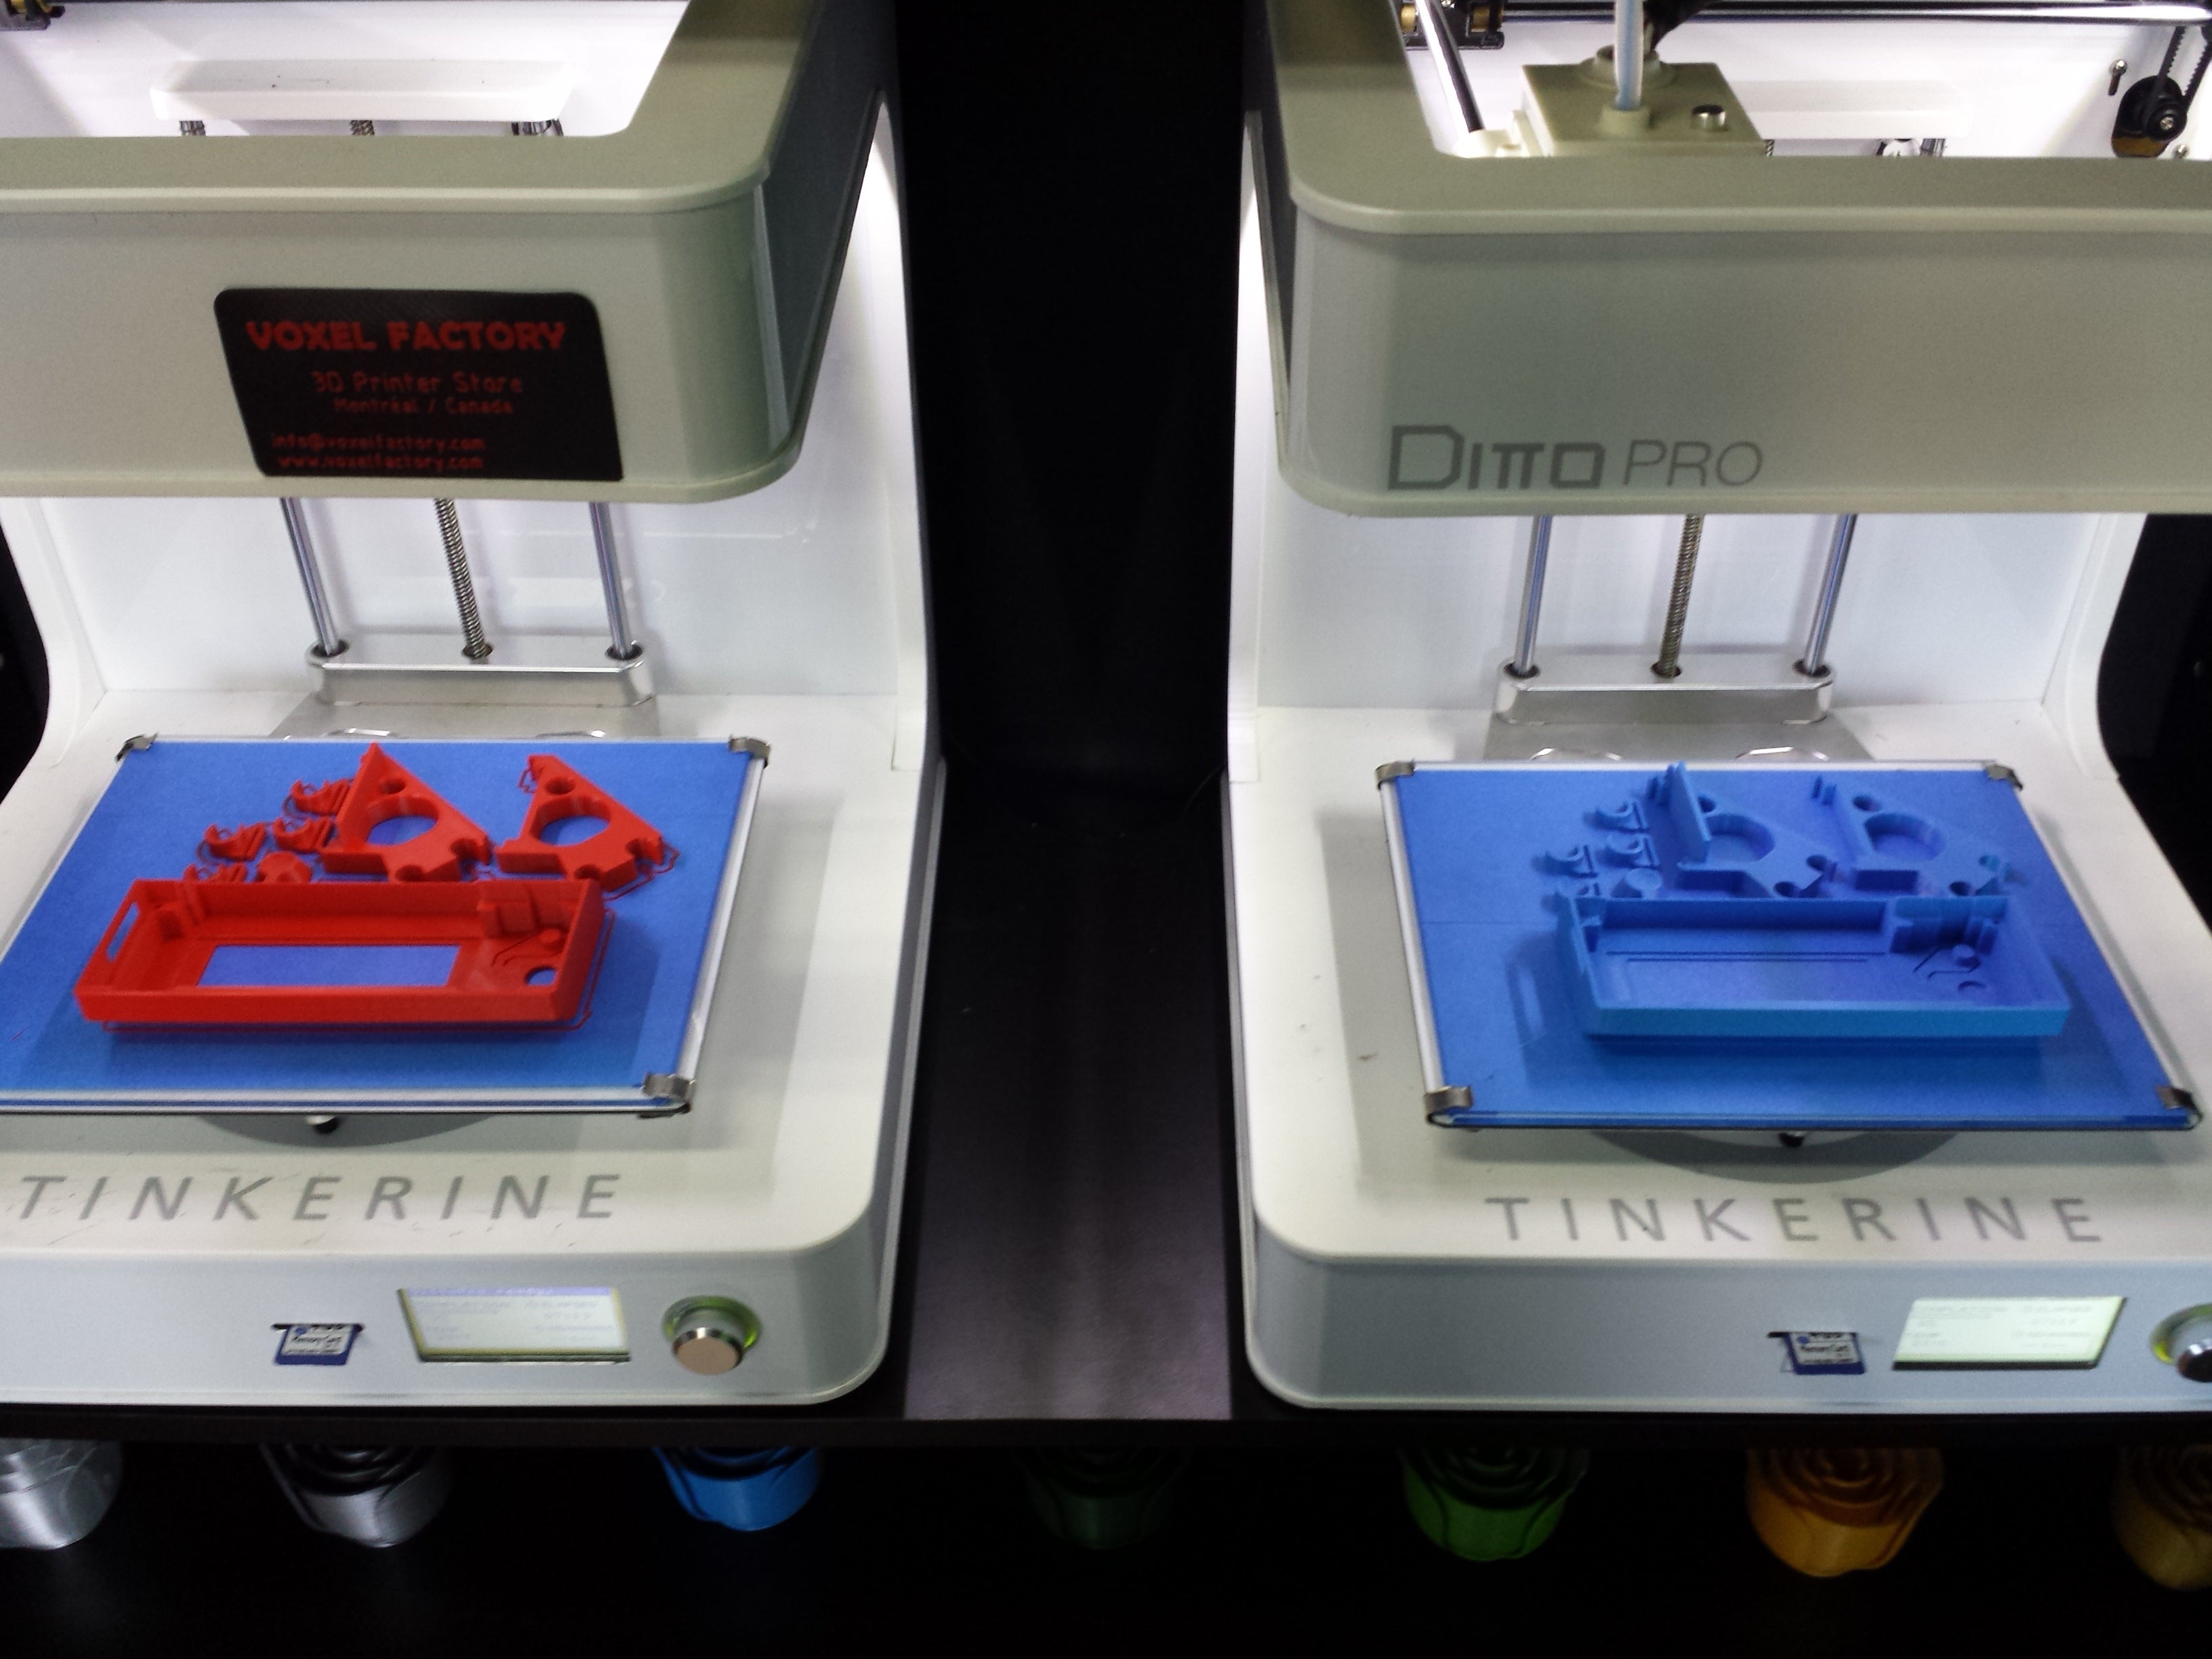
It was last Thursday, we were impatiently waiting for our first set of Prusa i3 MK2! Not only did we spam the refresh link on the UPS tracking service every 5 minutes, but our e-mail inbox and our phone was constantly ringing up with clients on the other end asking us the status of their set they bought in the first batch of pre-orders. We decided the day before to print our own pieces of our two MK2 kits in the colors of Voxel Factory. Our Ditto PRO’s from Tinkerine were printing continually for nearly 24 hours with only the change of filaments and tape for a break. As for us, we were anxious to start building it so we had to calm our nerves by slicing each part and then printing them. Obviously that wasn’t enough to calm us. But at least we had the nice smell of PLA floating in the workshop.
The day was nearing to its end when we finally received our boxes of wonders. Exacto knife in hand, we rapidly unpacked, verified, tagged and shipped the orders of clients and only then did we open our boxes. The majority of the part were in re-sealable zipper storage bags in order of assembly. Step 2 – Y Axis, Step 3 – X Axis, etc. (If you’re wondering for Step 1, it was Unpacking, we nailed that one). But dang, we were still missing a few pieces to print in order to replace the original orange pieces of the kit. So I stayed at the shop in the evening to continue the prints. Thank you Guy and Julie for keeping me company and for the pizza :-)
But that’s not all, I also asked the team at Dyze Design to reprint the extruders in Carbon Fibre and Co-Polyester (ColorFabb_XT CF-20). It was Nathan, our manager for the summer, who braved the rain in this sulky weather to bring the missing CF-20 to Dyze Design. He used this opportunity to meet the team and the shop of this Montreal company that manufactures extruders and hot ends. Their high performance hot ends and extruders with stainless steel nozzles are perfect for a job like ours. So Nathan, how was the trip? “A real start-up the way we love them! Boxes to the ceiling, tools packed like sardines and of course a few 3D printers with gamers PCs at the desks of each of the nerds ;-) Our parts will be ready tomorrow morning…”
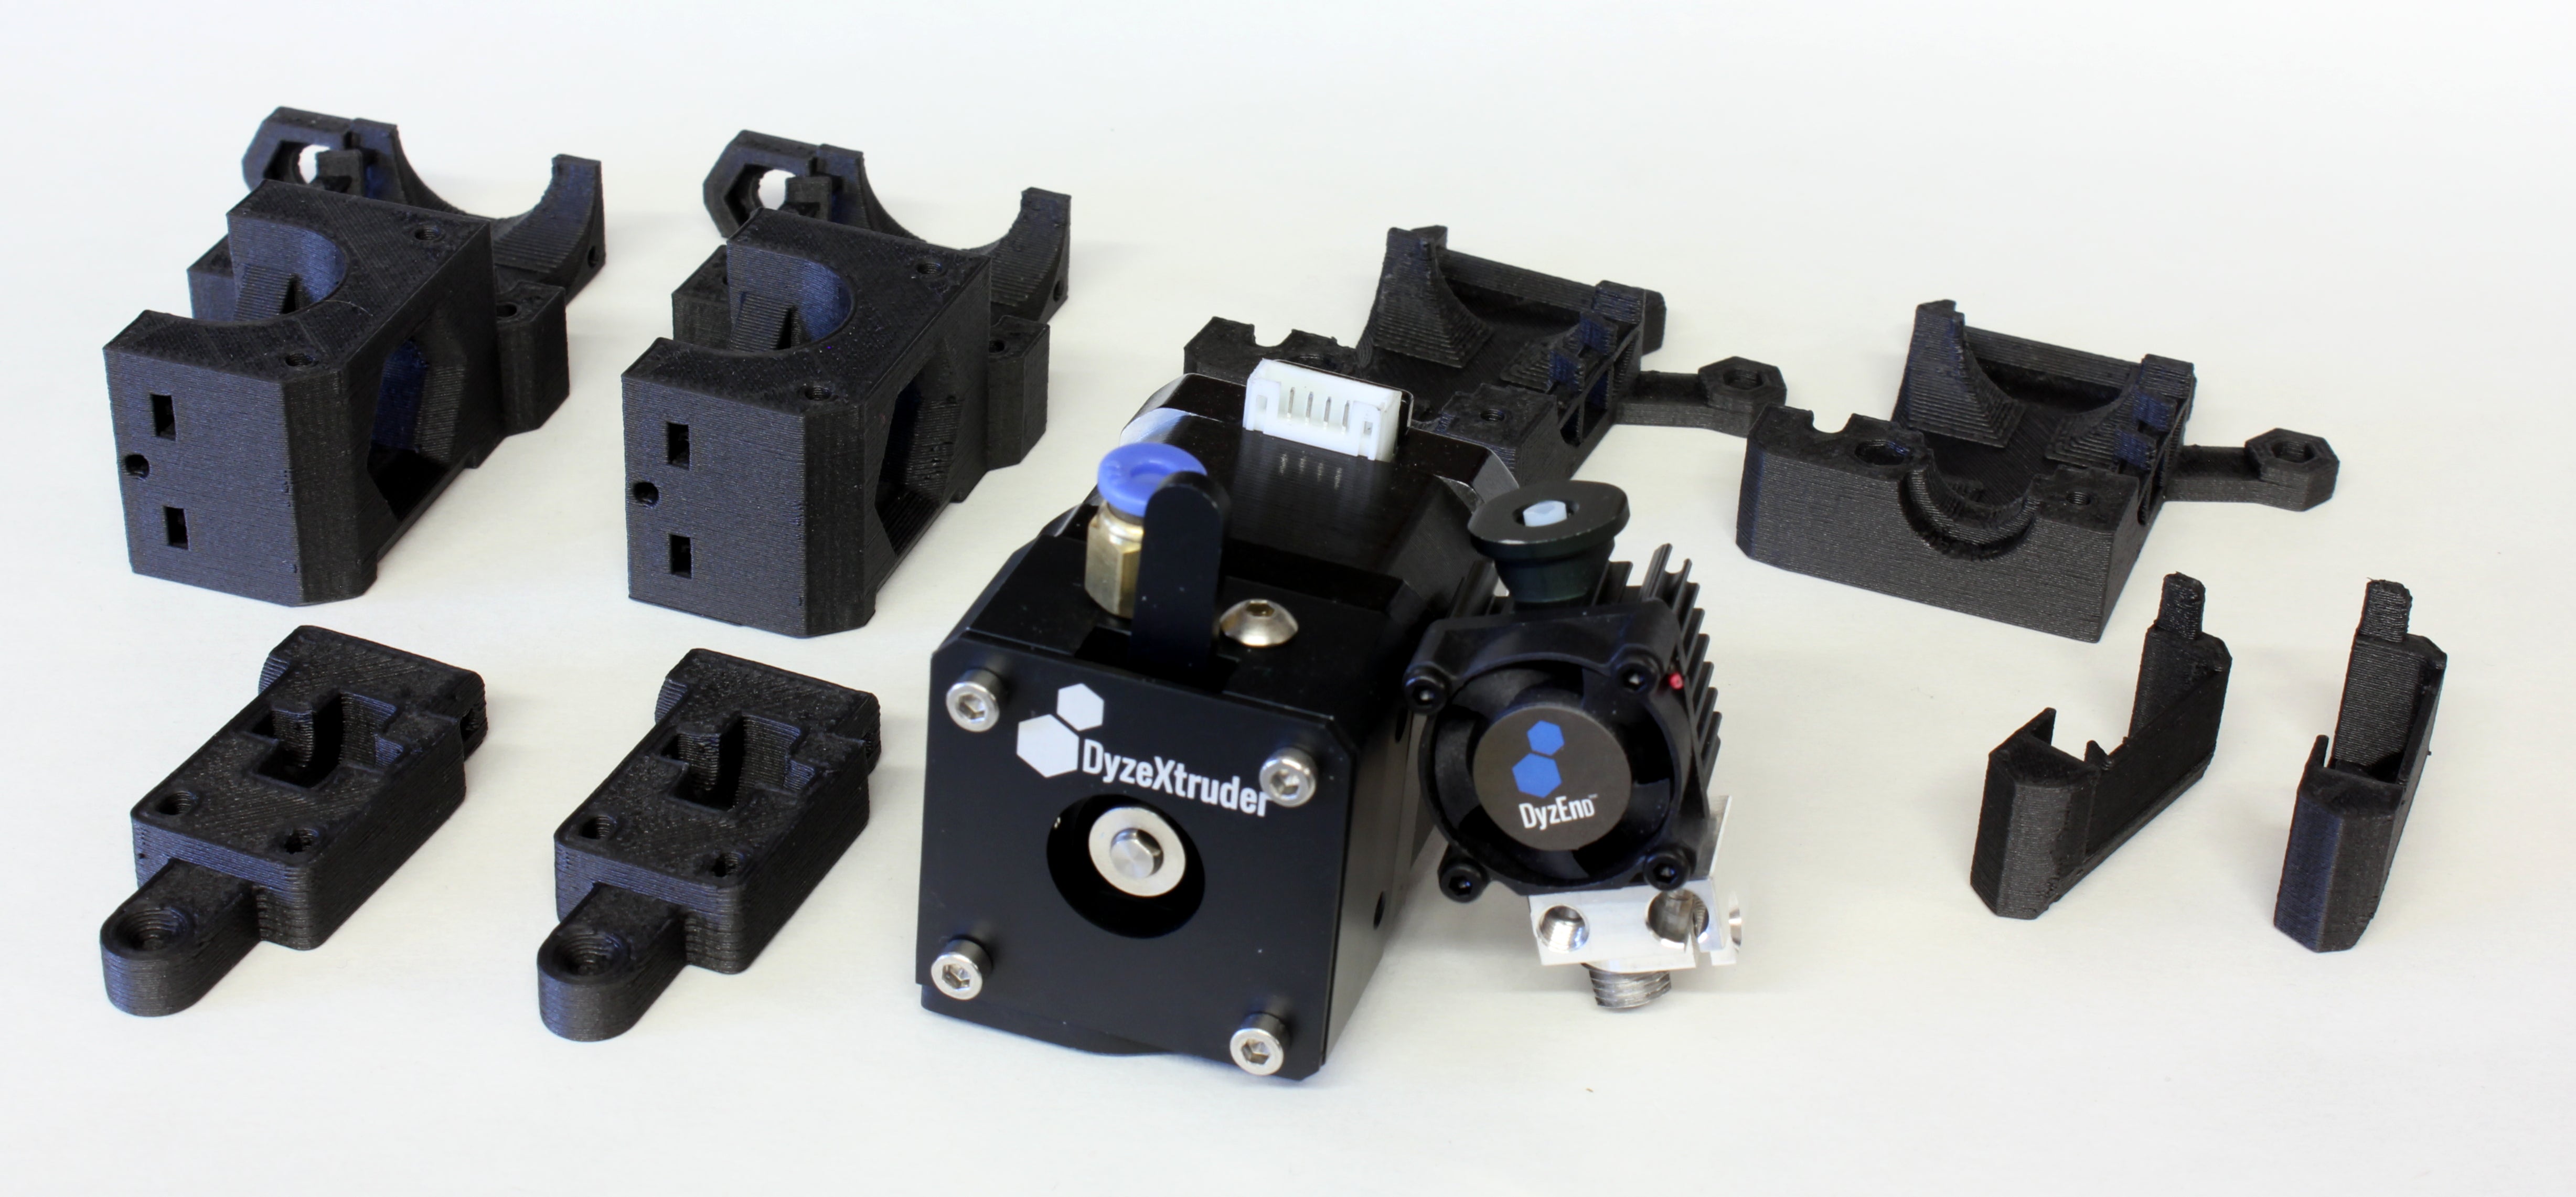
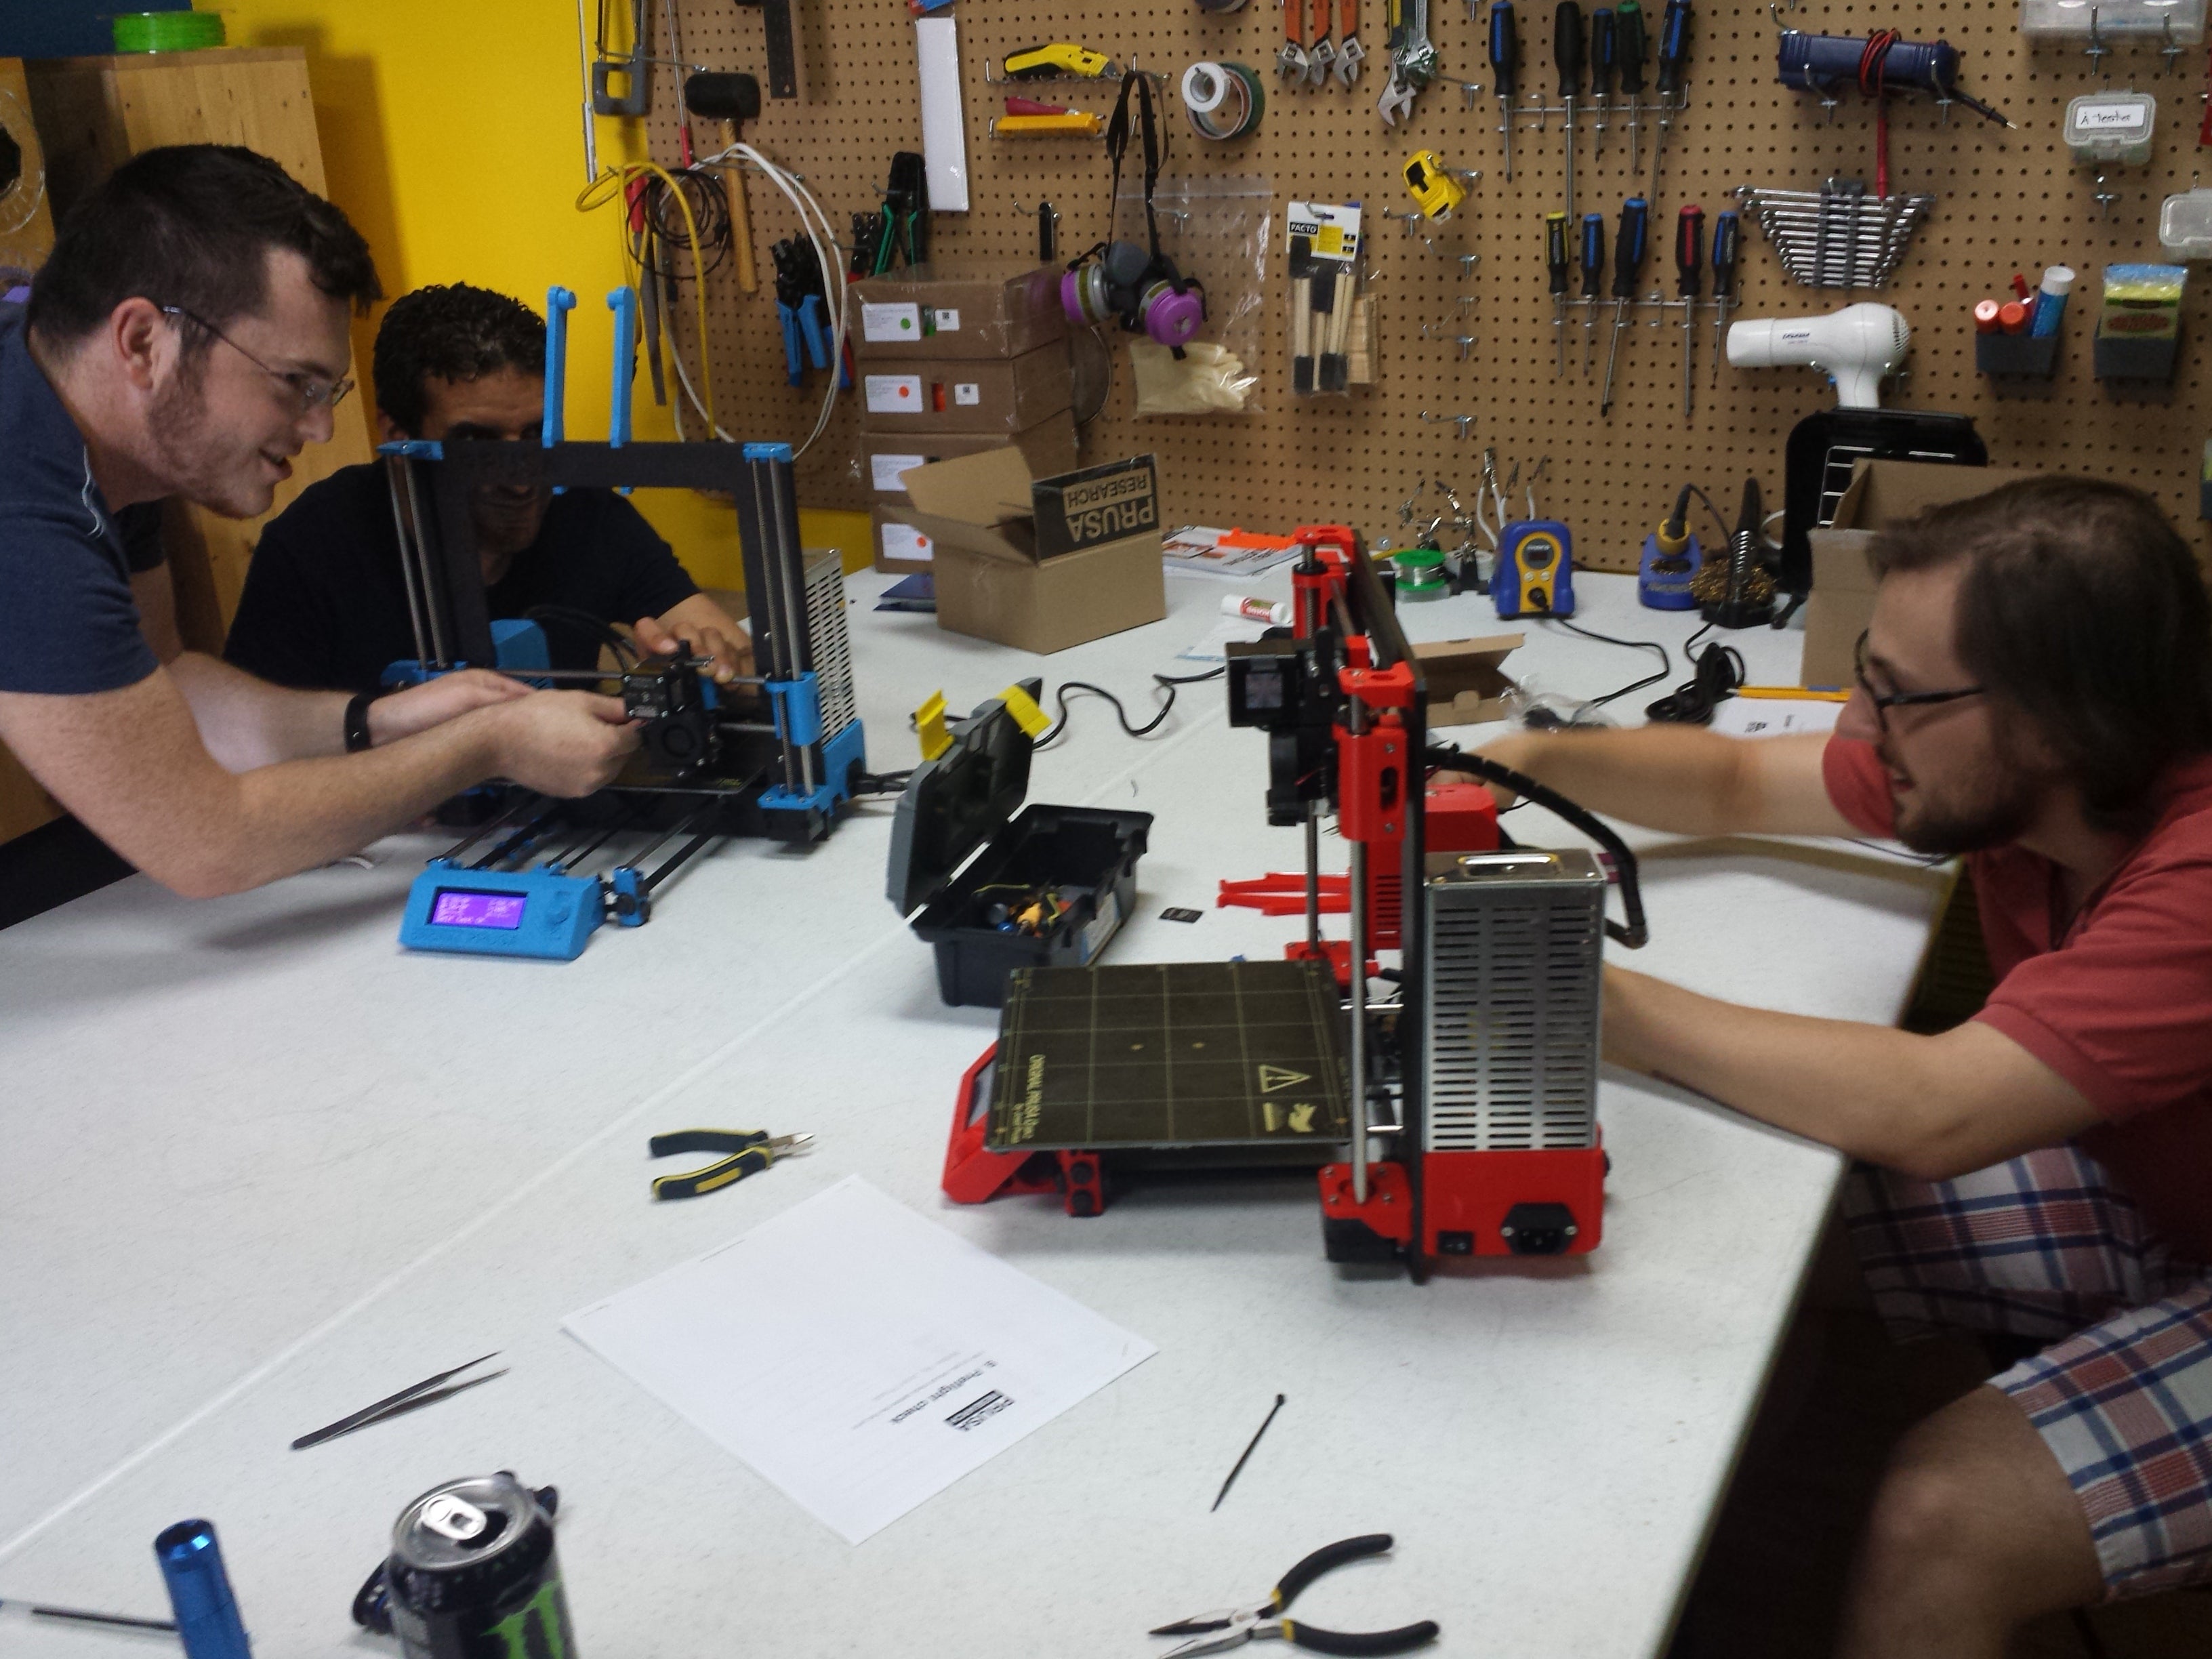
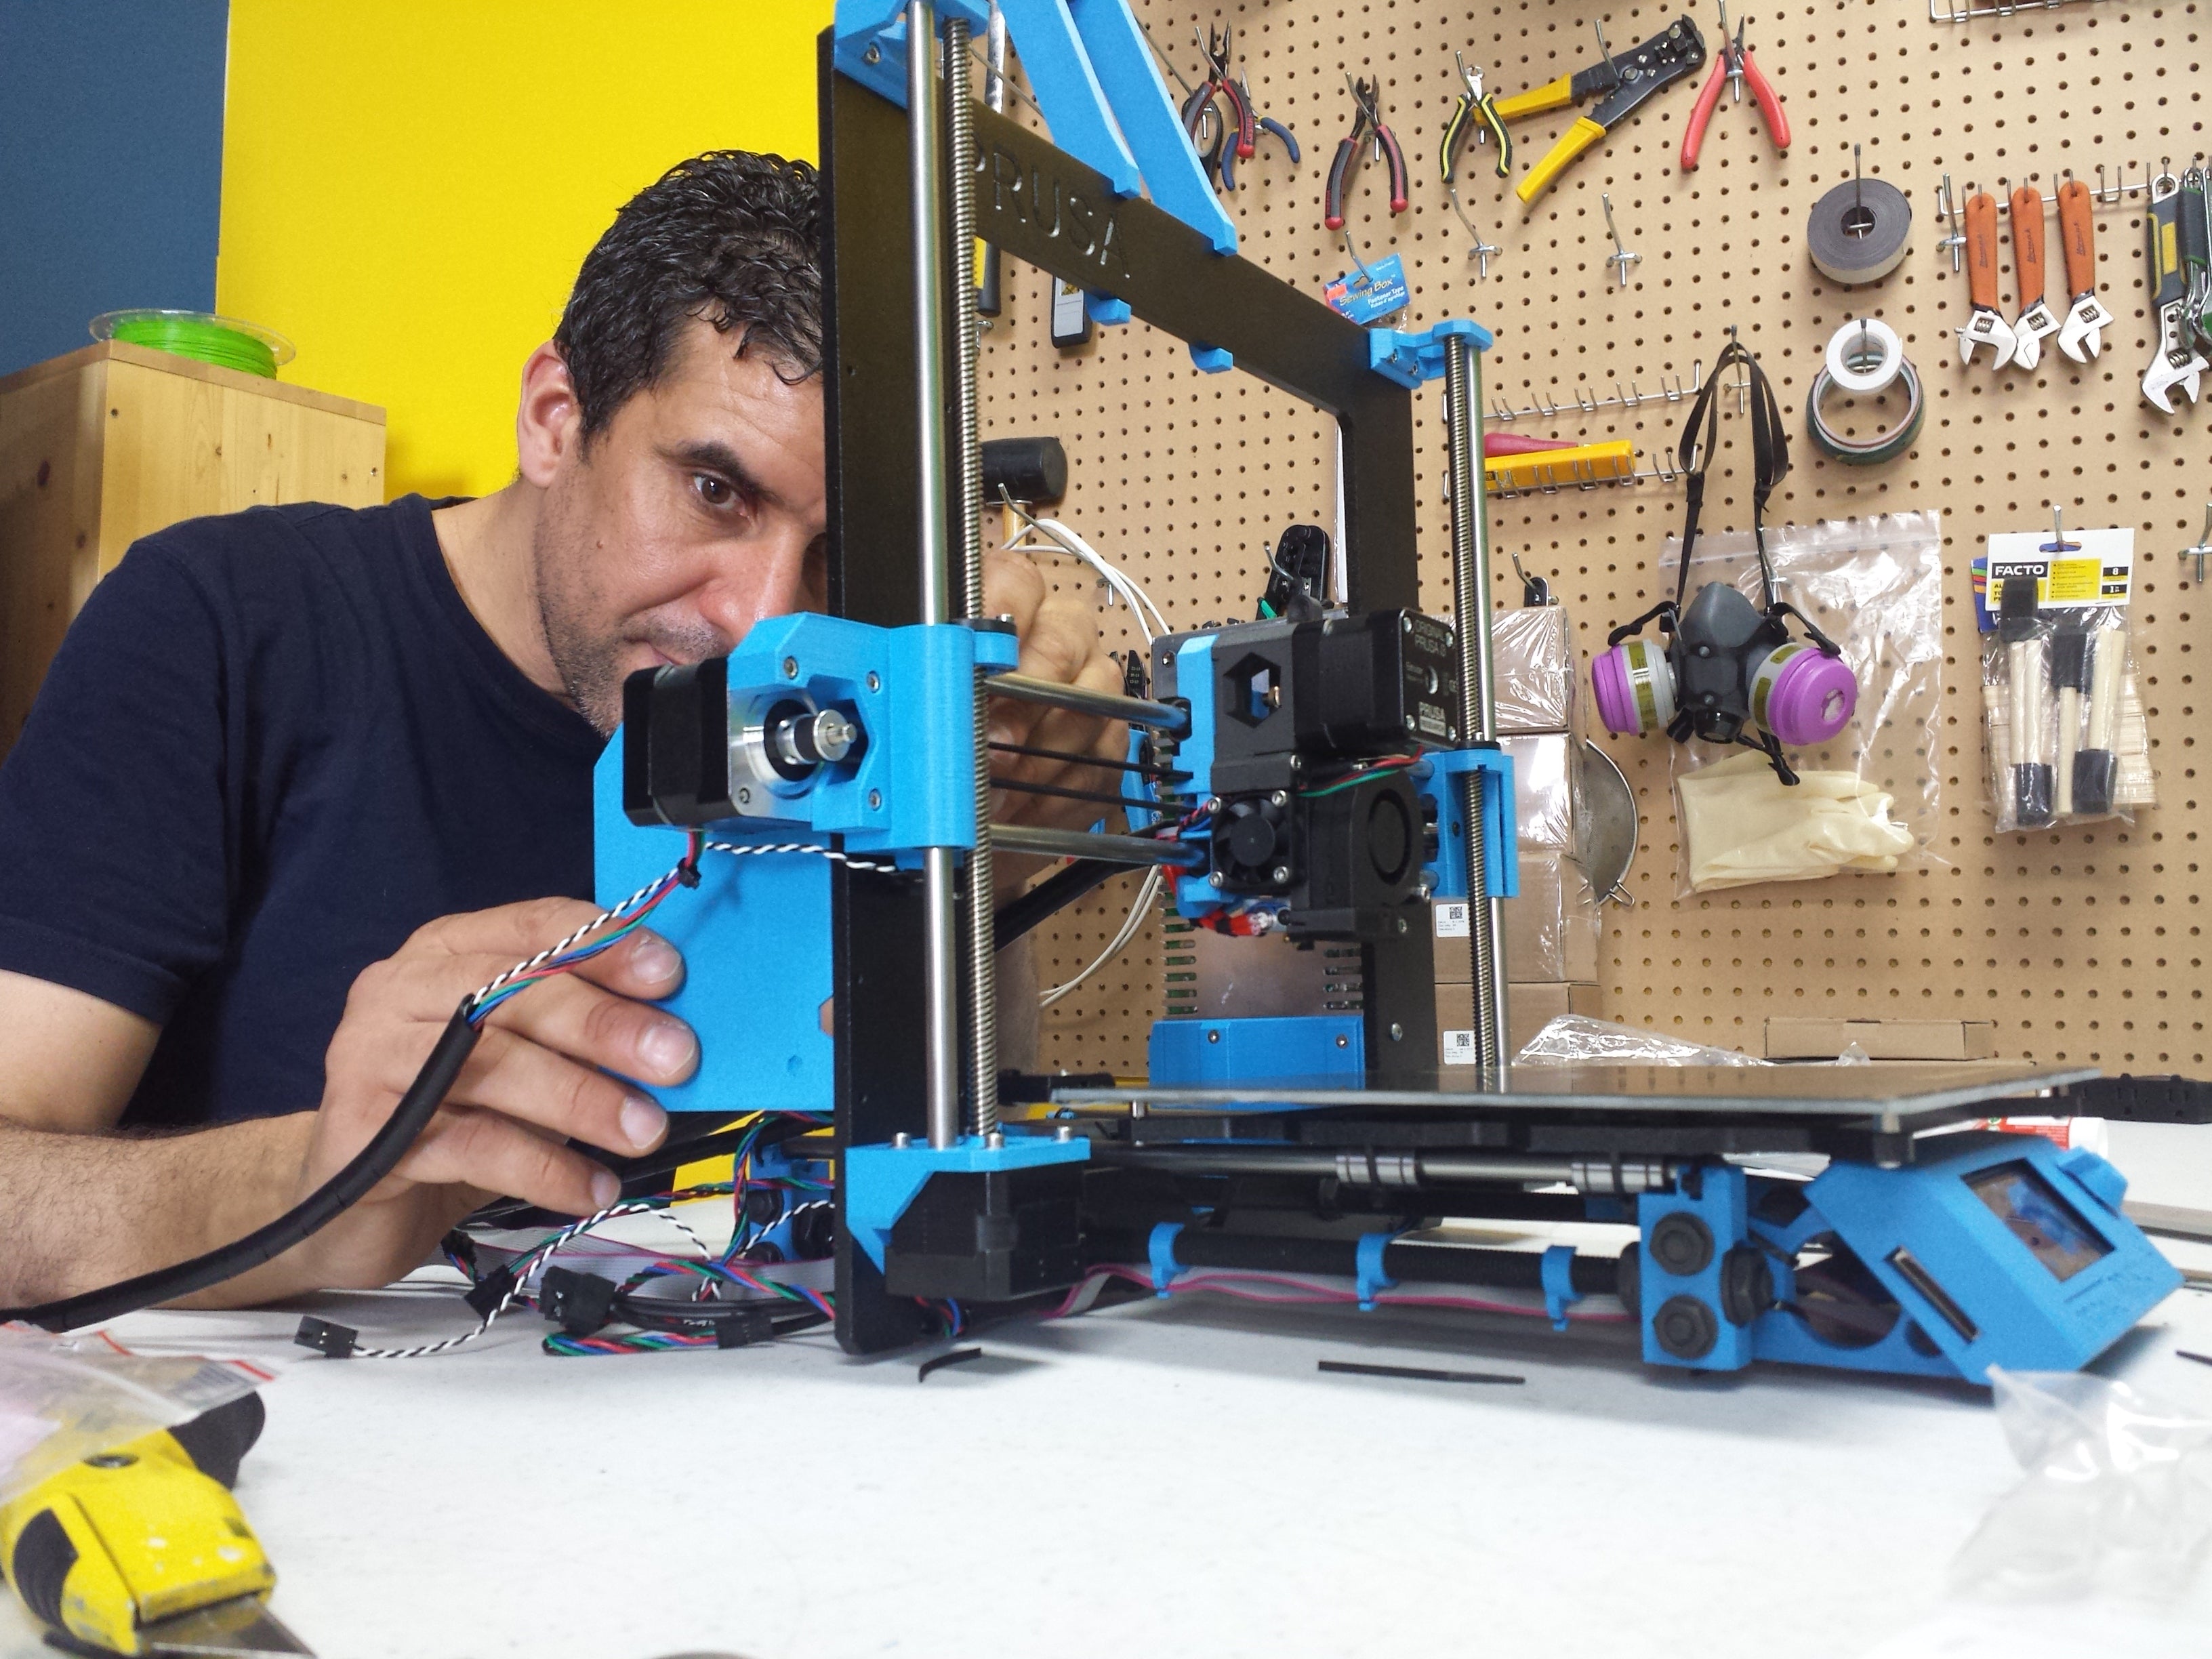
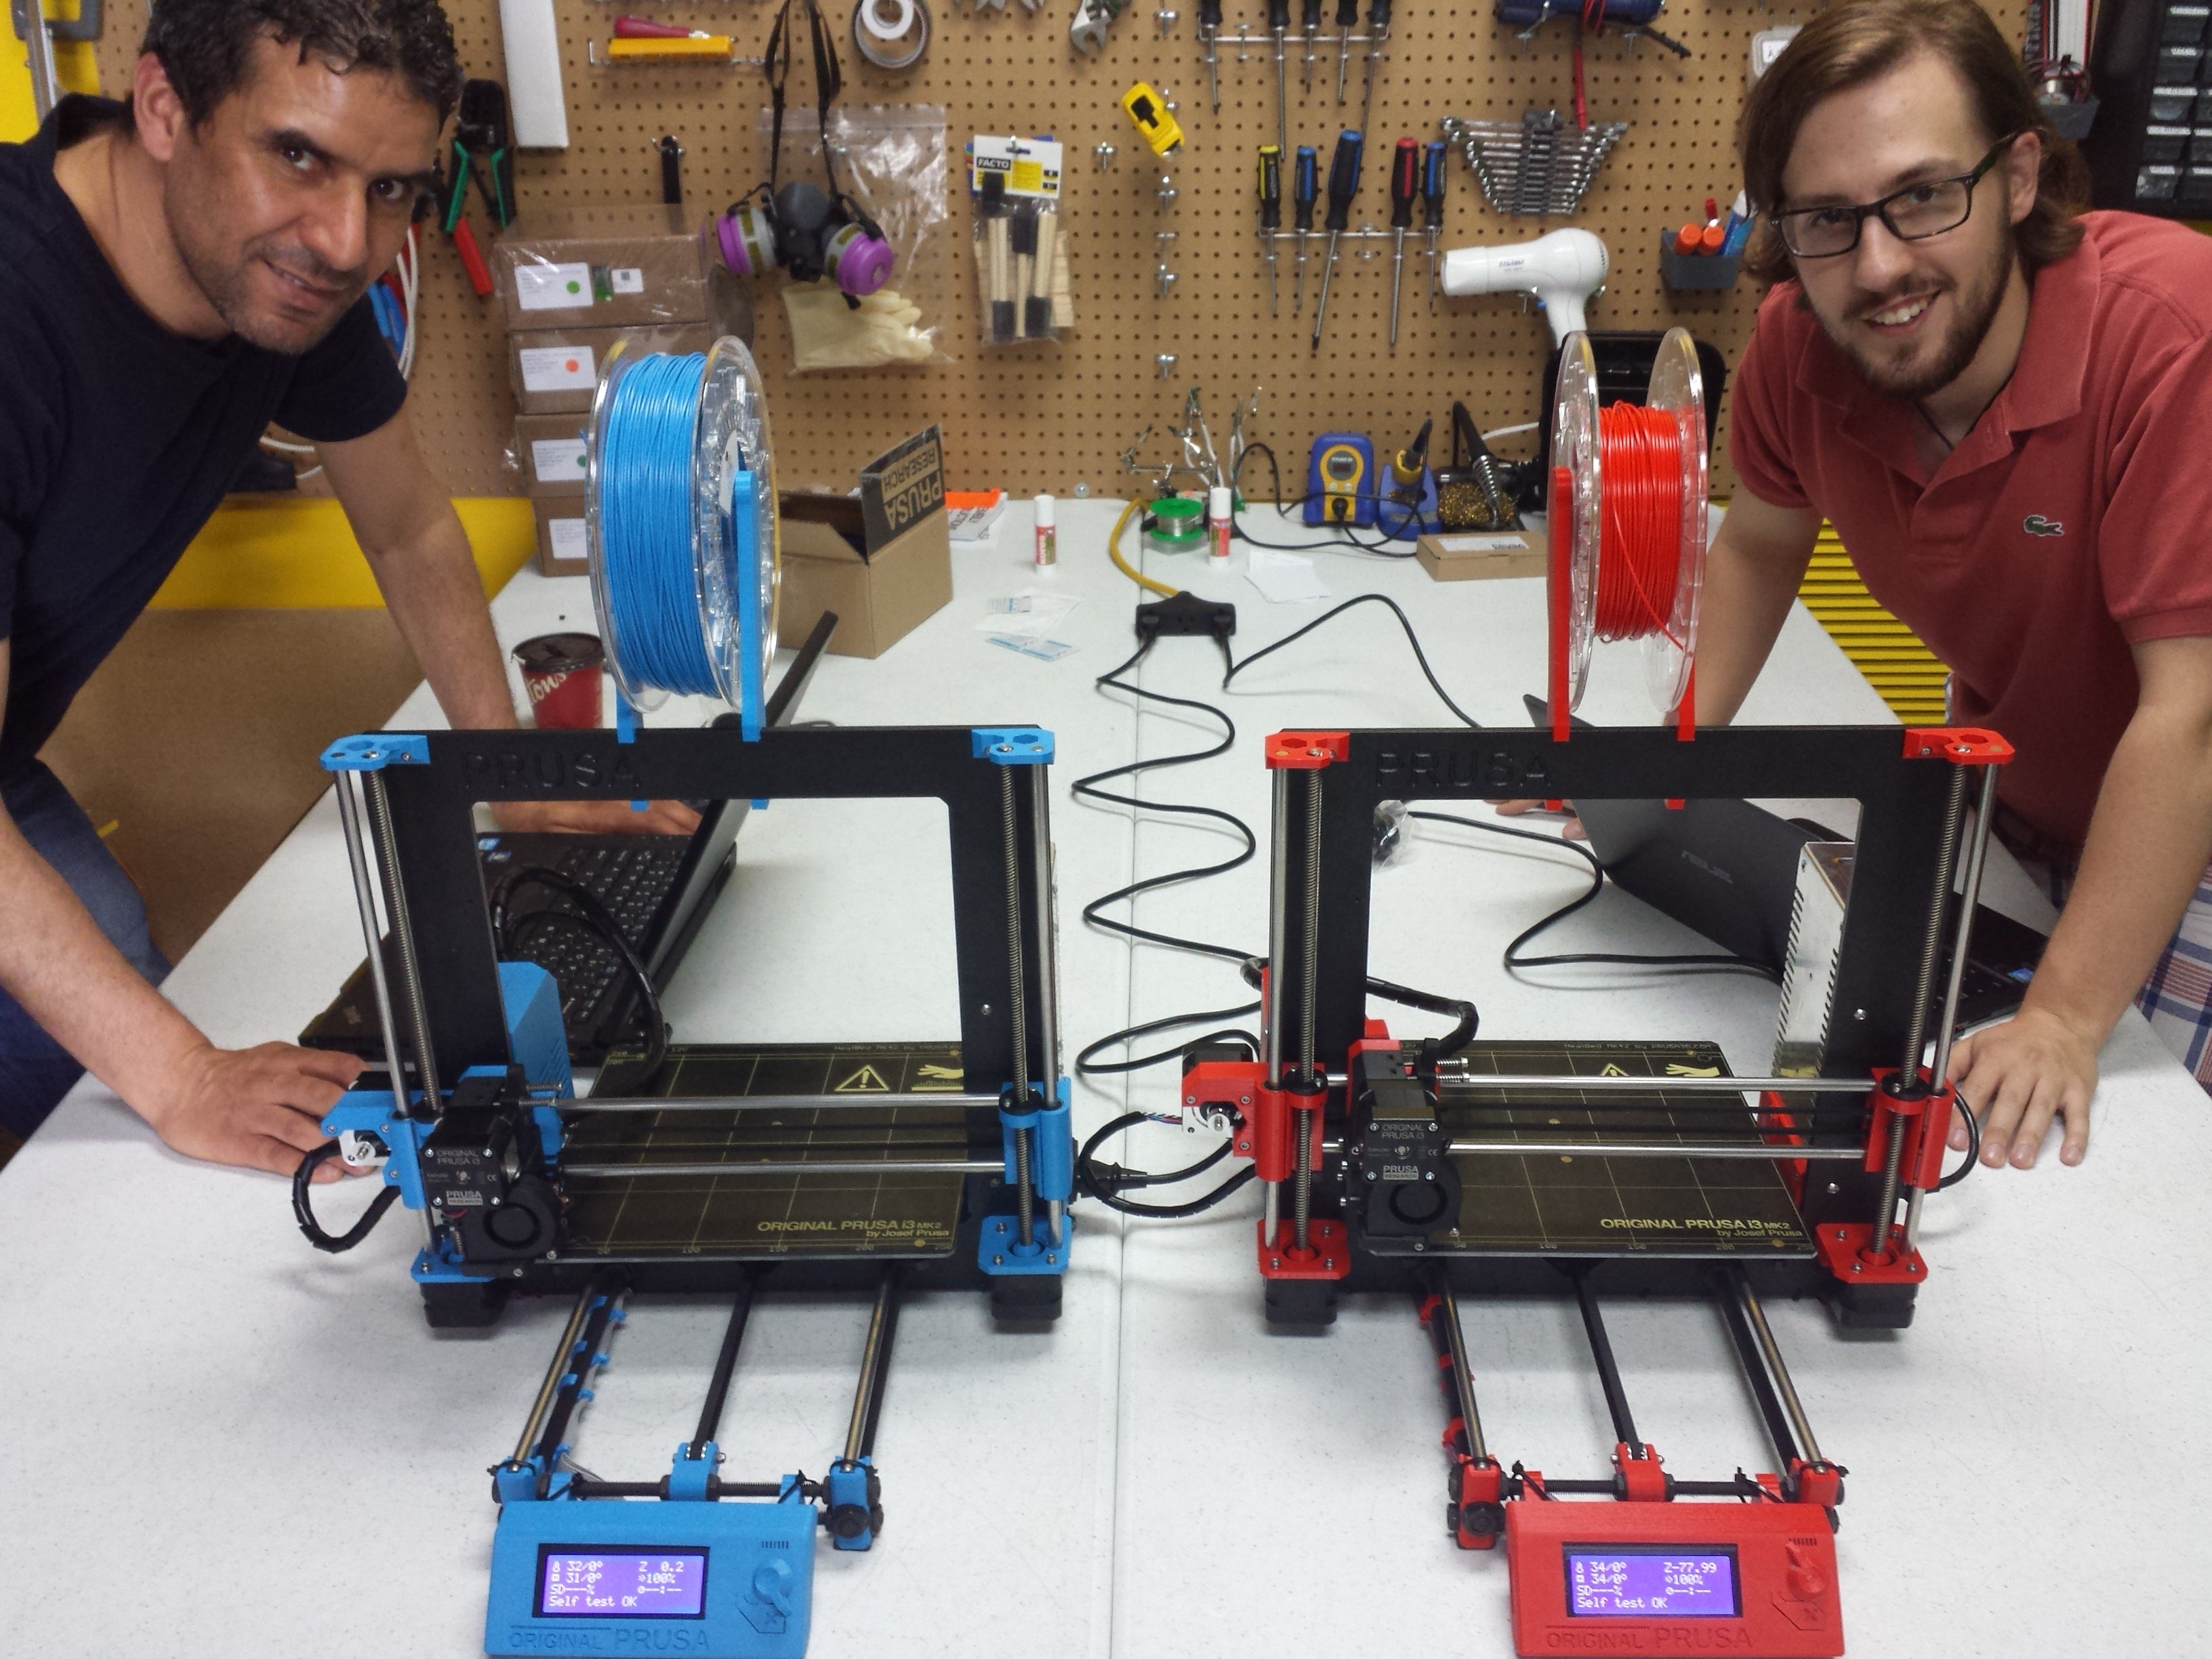
Friday morning, Romain arrived with the extruders from Dyze Design perfectly printed to match our MK2 kits in ColorFabb traffic red and sky blue. Nathan and Raouf were already on their seats waiting to start building their first 3D printer. We downloaded the last version of the instruction from Prusa’s Research website and then it began!
Like dozens of times before, we blasted through the assembly steps one by one. But something was different this time. We were dealing with a high quality kit. Rambo mini v1.3a from Ultimachine, no soldering whatsoever, all tools were provided in the box, hot end E3D v6, new MK42 heat bed, proximity sensor for auto bed levelling and a precisely integrated Z axis leadscrew! We are faaaaar from the cheap clones we can find on eBay. In addition to that, the impression of supporting one of the pioneers in the RepRap Project, the now famous Josef Průša and his Czech company Prusa Research, was adding even more joy to our day!
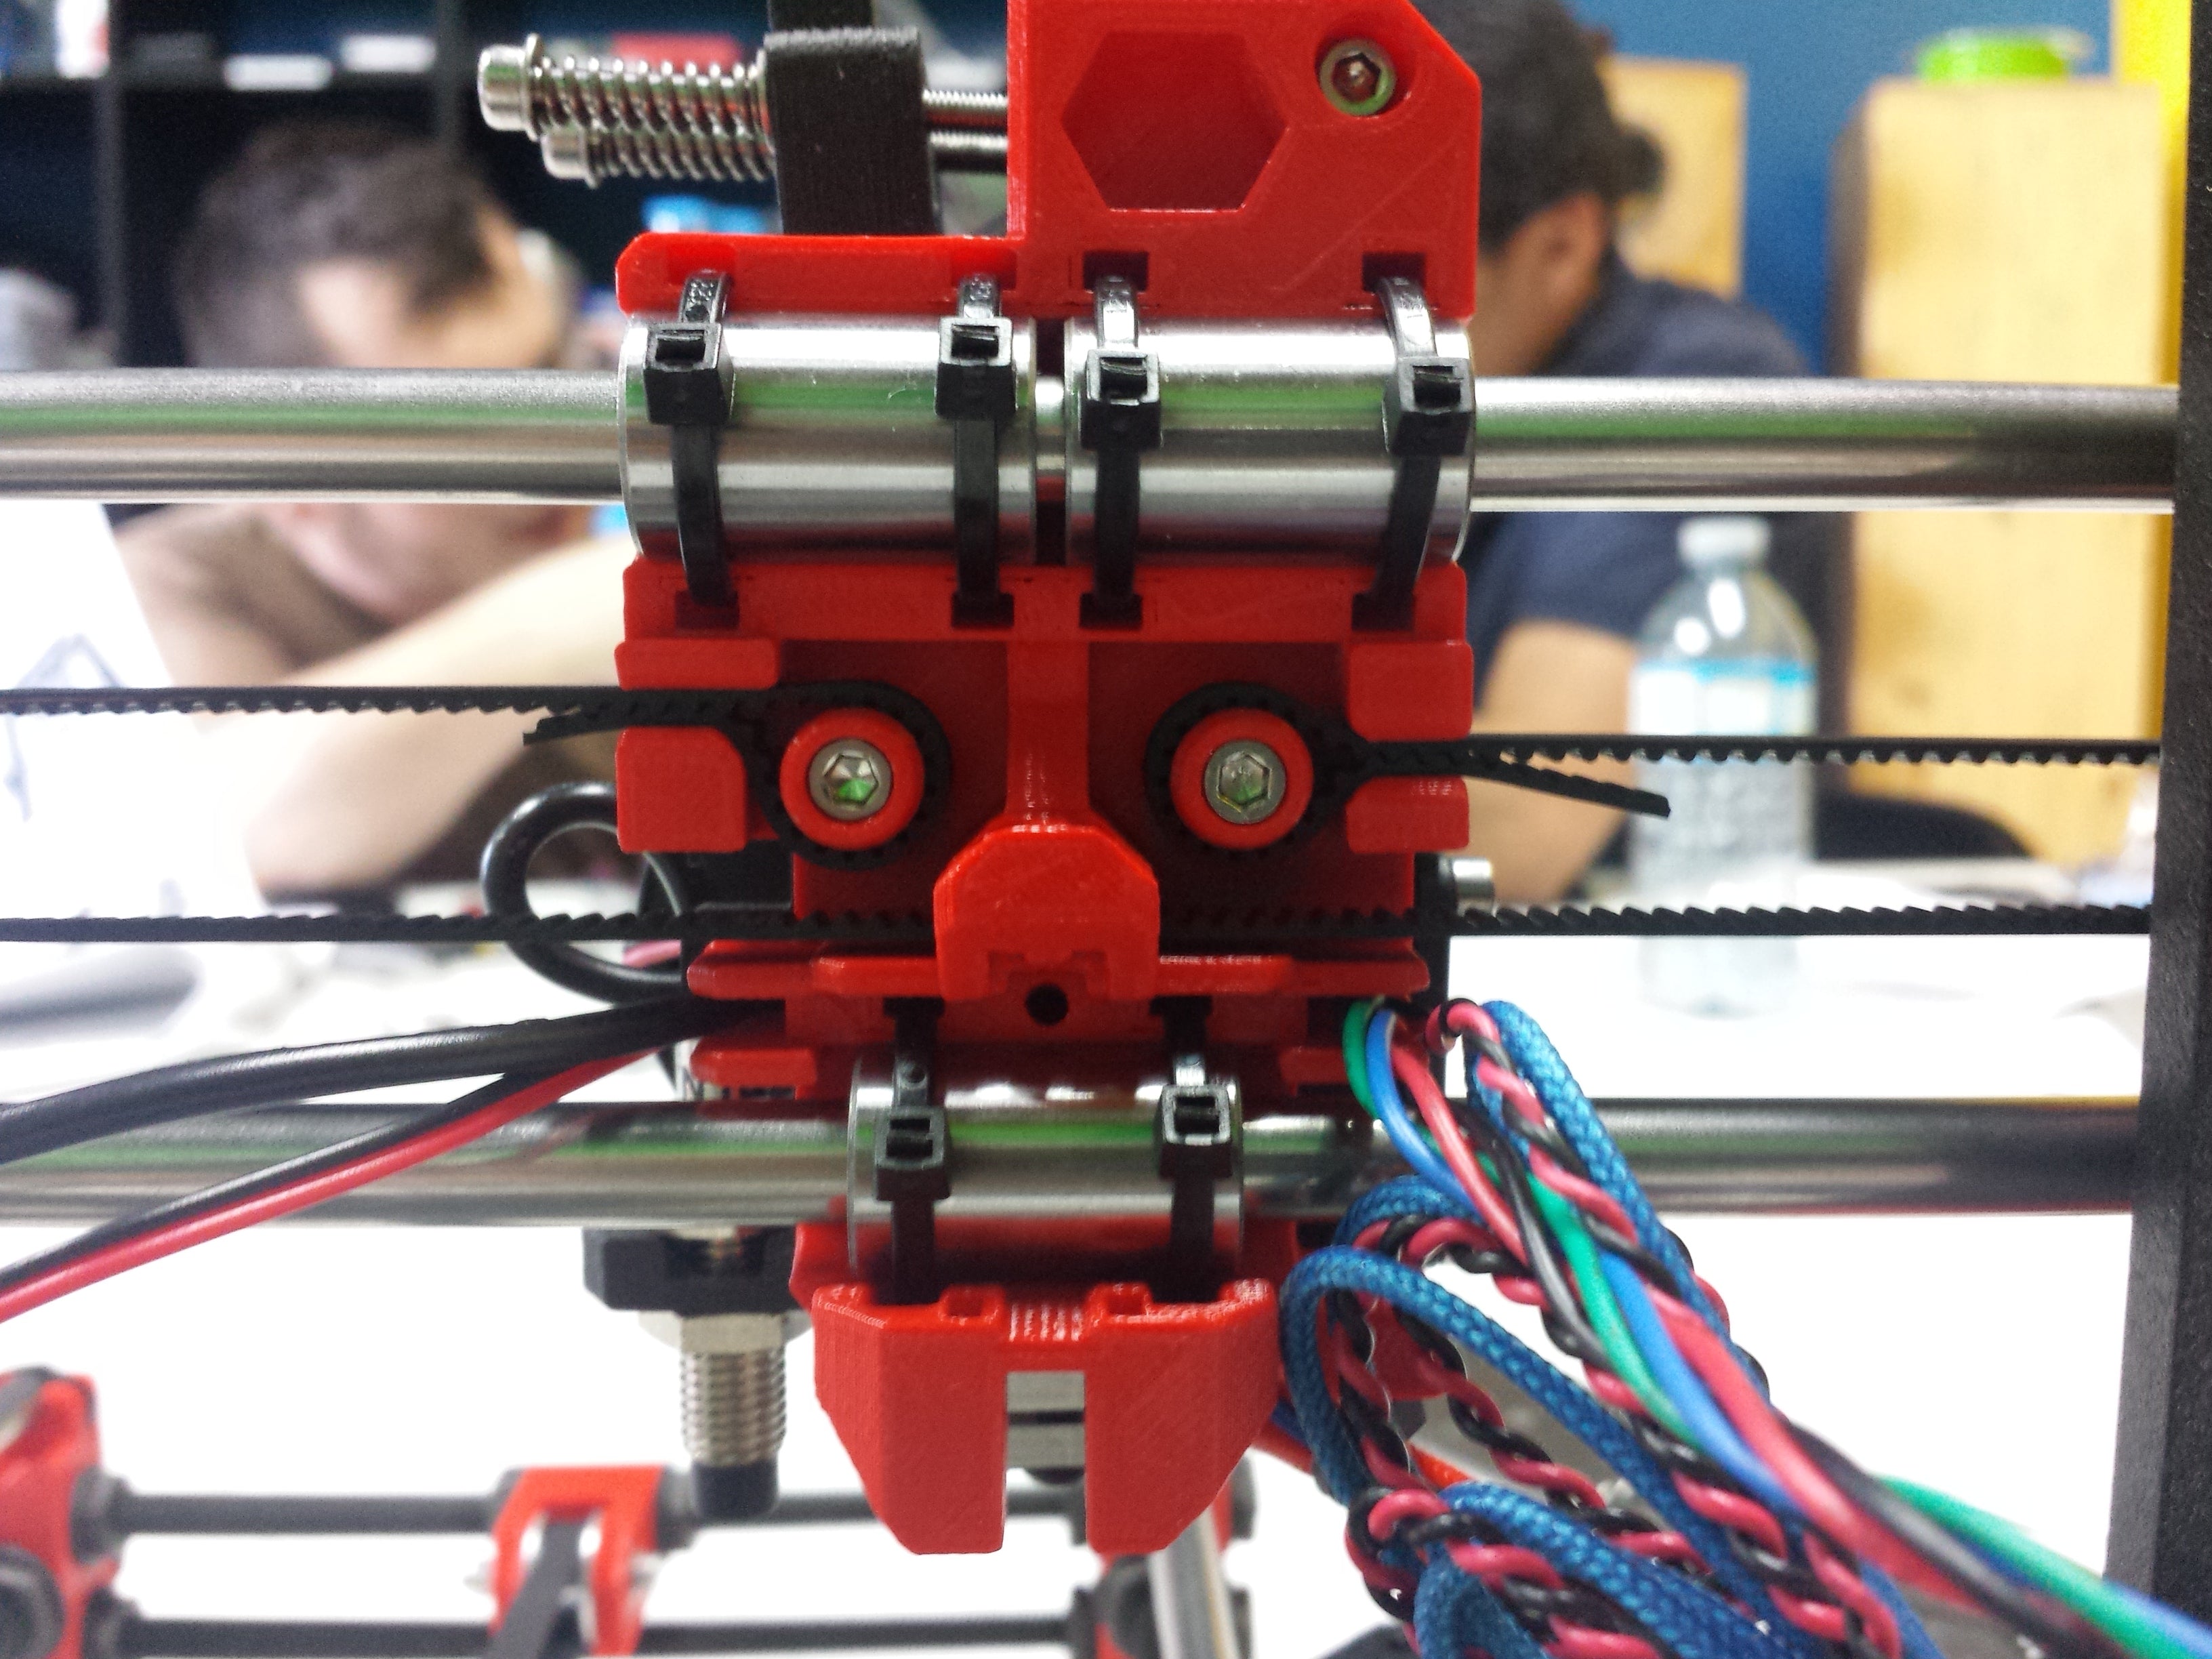
Saturday morning, we only had to install all the electronics and plug in all the cables at the right place. A classic morning workshop like were used to, doing adjustments to little details and giving out assembly tricks. “Look here, the guides for the hot end cables, NO don’t use tie wraps for that, these small pieces serves to guide the LCD controller cables!”
1pm – Raouf plugs in his printer. BAAAAMM! A black smoke comes out of the box containing all the electronics… Lol, just kidding ;-) We're professionals after all. All goes for the best in the world of RepRap kits with no soldering :-P
First thing we want to test: Auto test by printer that was added to the Marlin firmware. [End stops: OK] [X, Y, Z: OK] [Hot End: OK] [Heat Bed: OK]. It doesn’t say much, but it says were OK, so we’ll believe it. We then try to calibrate the build plate with the calibration tools. You have to know that the little circles on the new MK42 heat bed are not there to make it pretty. The sensor has to come as close as possible to the centers of these circles to take a precise measure. On our part, we had to add a little thickness of a few mm on the side of the X-Carriage to arrive to perfection. Maybe we printed an old version of the carriage? Who knows, but a little piece of double sided tape did the trick.

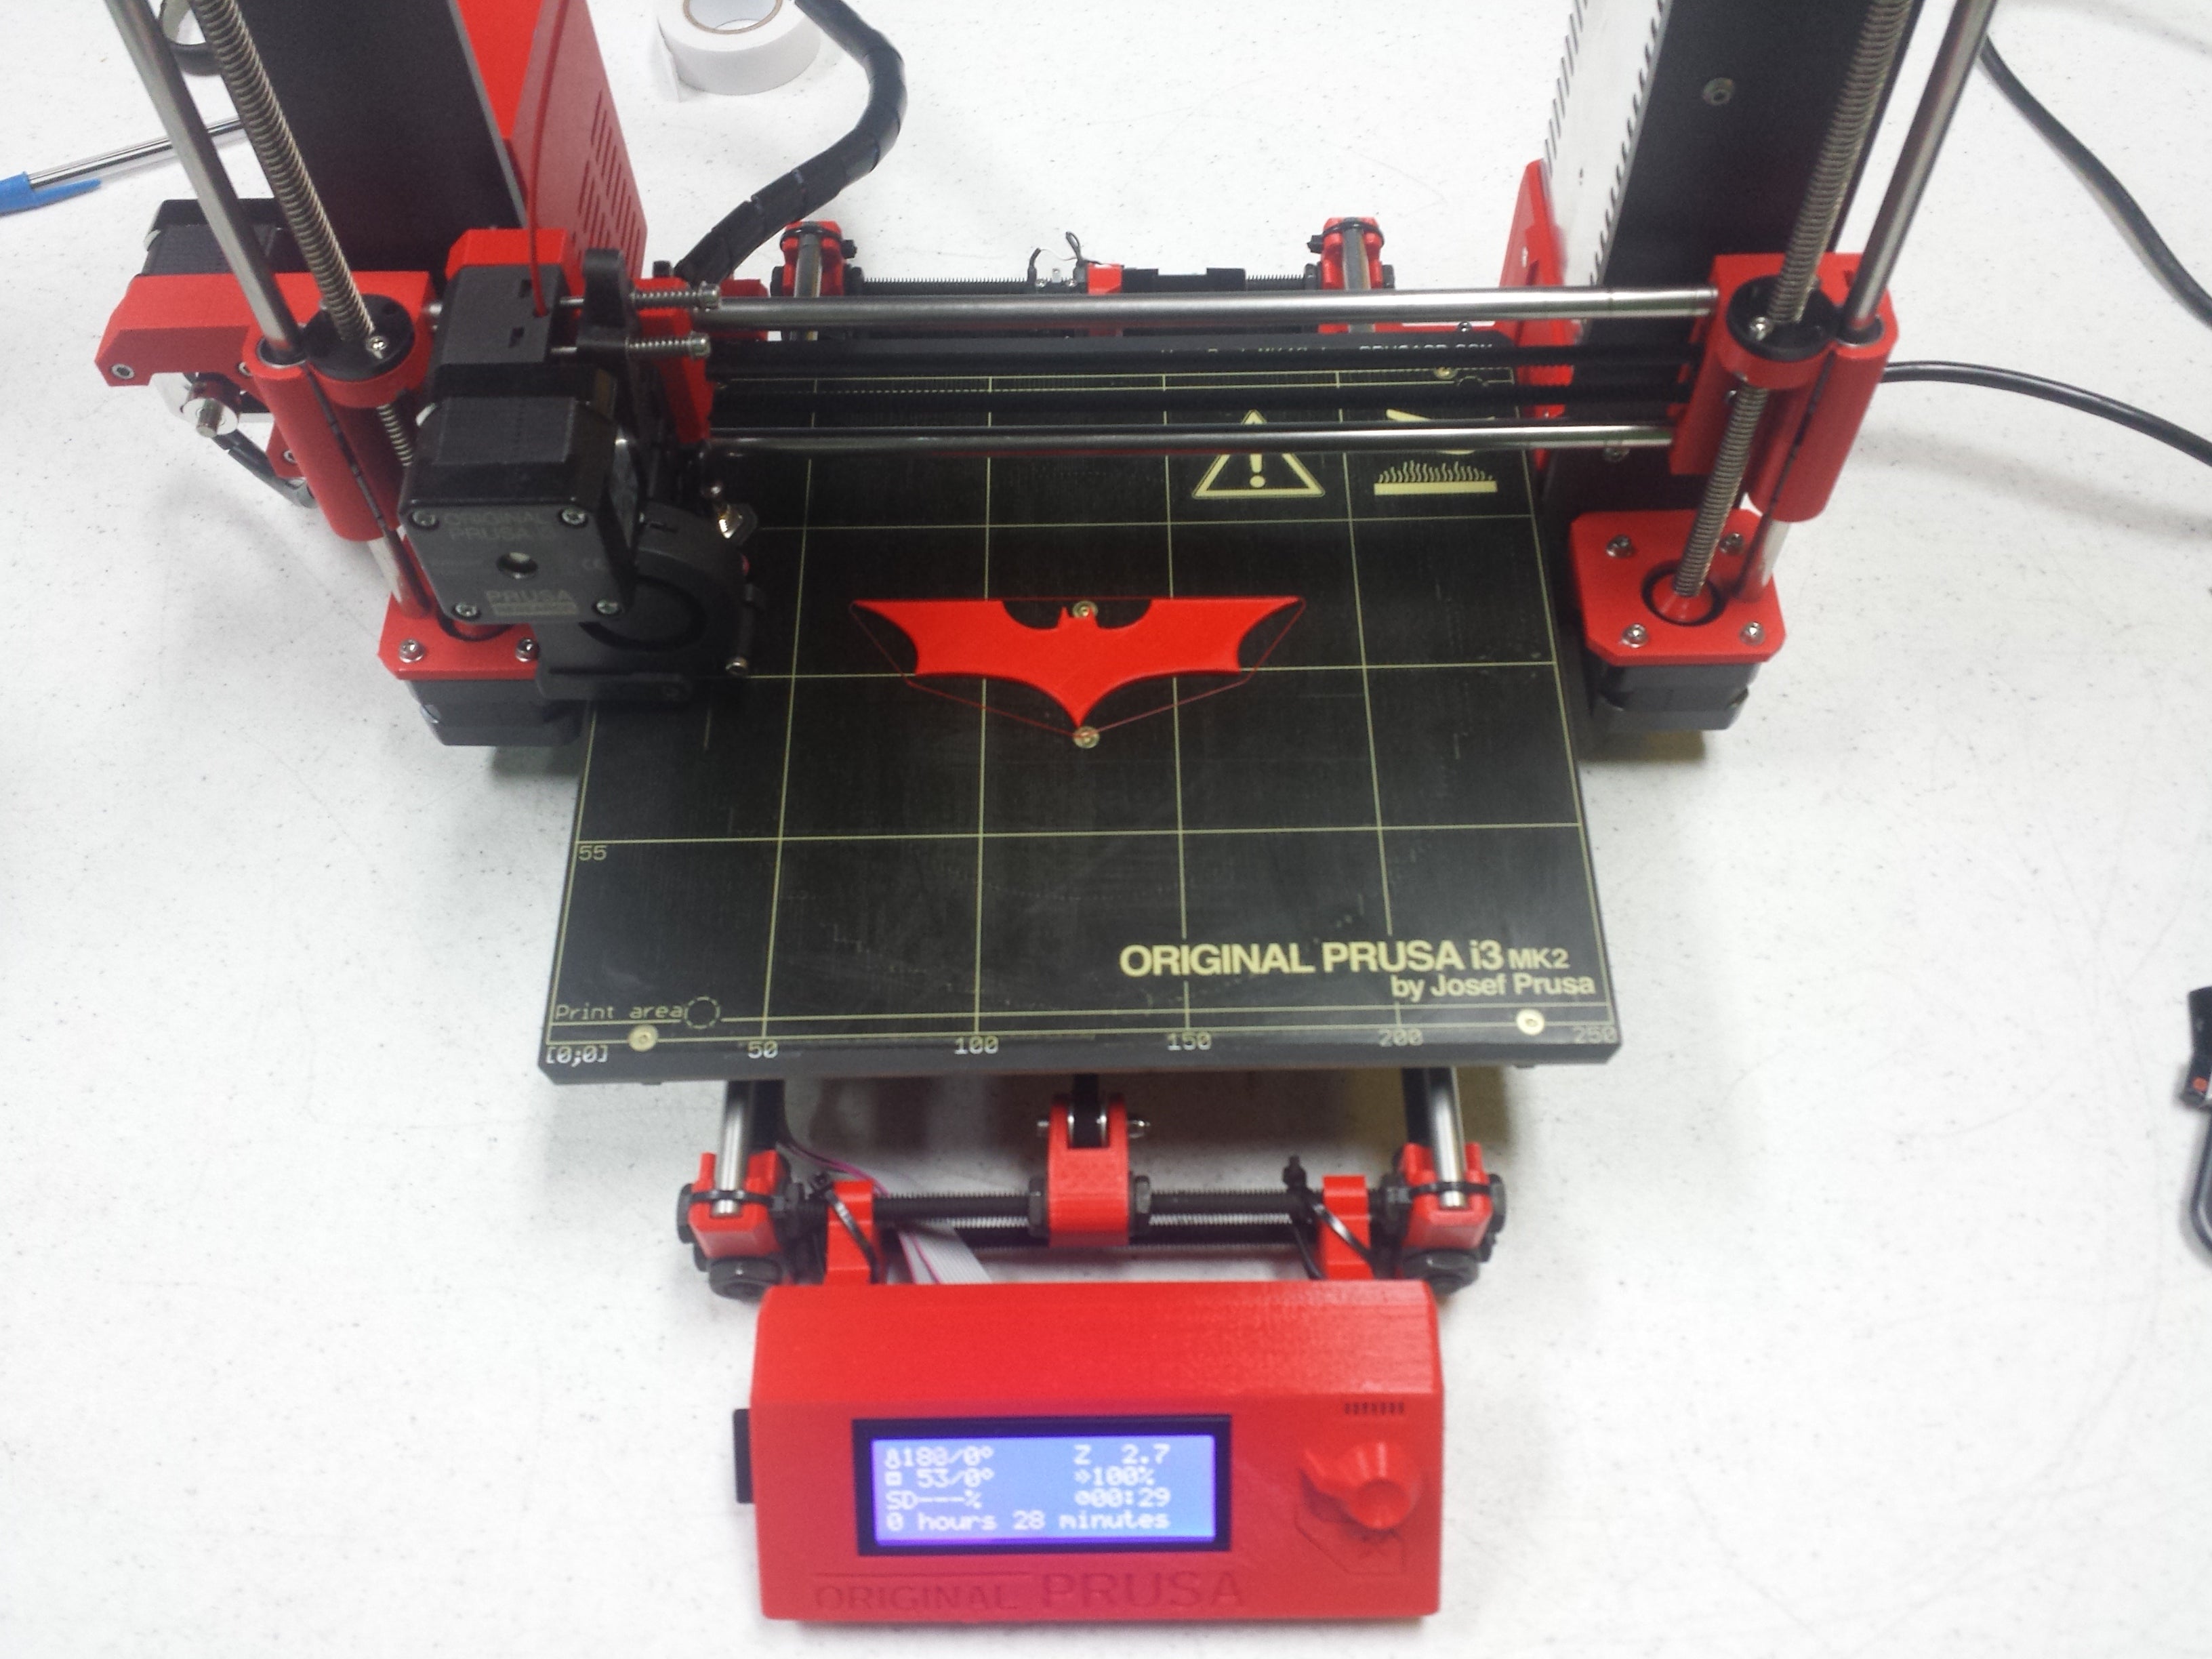
First calibration… not obvious to comprehend. Forums, videos and a few chats with the guys at Prusa Research and finally the version 2 of the calibration GCODE is available. While the serpentine is printing (or not) on the build plate, we have to adjust the Z offset with a function named Live Adjust Z. That’s it, now it works like a charm! We are ready to try out our first piece :-) BATMAN! The piece doesn’t stick super well, so we used a LITTLE bit of 3DLac on the PEI sheet using a paper towel and voila!
Now comes the time to print something other than the GCODE included on the SD card. Being on Windows 10, I downloaded the executable file found on the “drivers” page of Prusa Research’s website. Pronterface, NetFab, Firmware updater, ColorPrint are now installed in addition to a pre-configured Slic3r for our i3 PLUS and i3 MK2 with basic configs for multiple filaments we use. There are few things more satisfying than installing all the necessary drivers and softwares with one click. Minor discomfort: as usual, Slic3r crashes regularly on Windows (7, 8 or 10), but I’m not teaching you anything new here. The default printing configurations are acceptable, but leaves a few spaces on the soft curves and over extrudes on top/bottom.
Tuesday morning – since I don’t know the Slic3r setting or settings that’s are affecting my print, I’ve decided to test a piece with basic configs in CURA 15.05.6. “Add a new machine, Other, Custom, Prusa i3 MK2, 250, 210, 200, 0.4, Heat Bed – Check, Finish!” As usual, if you just installed CURA, go in Tools and change the evil and loathsome “Print one at a time” for “Print all at once”. How many extruders and hot ends were slayed by this default config? *Bell rings* The moment of truth has arrived! Will I be able to print parts that are pleasing to my eye (and soul) with our very sexy red MK2?
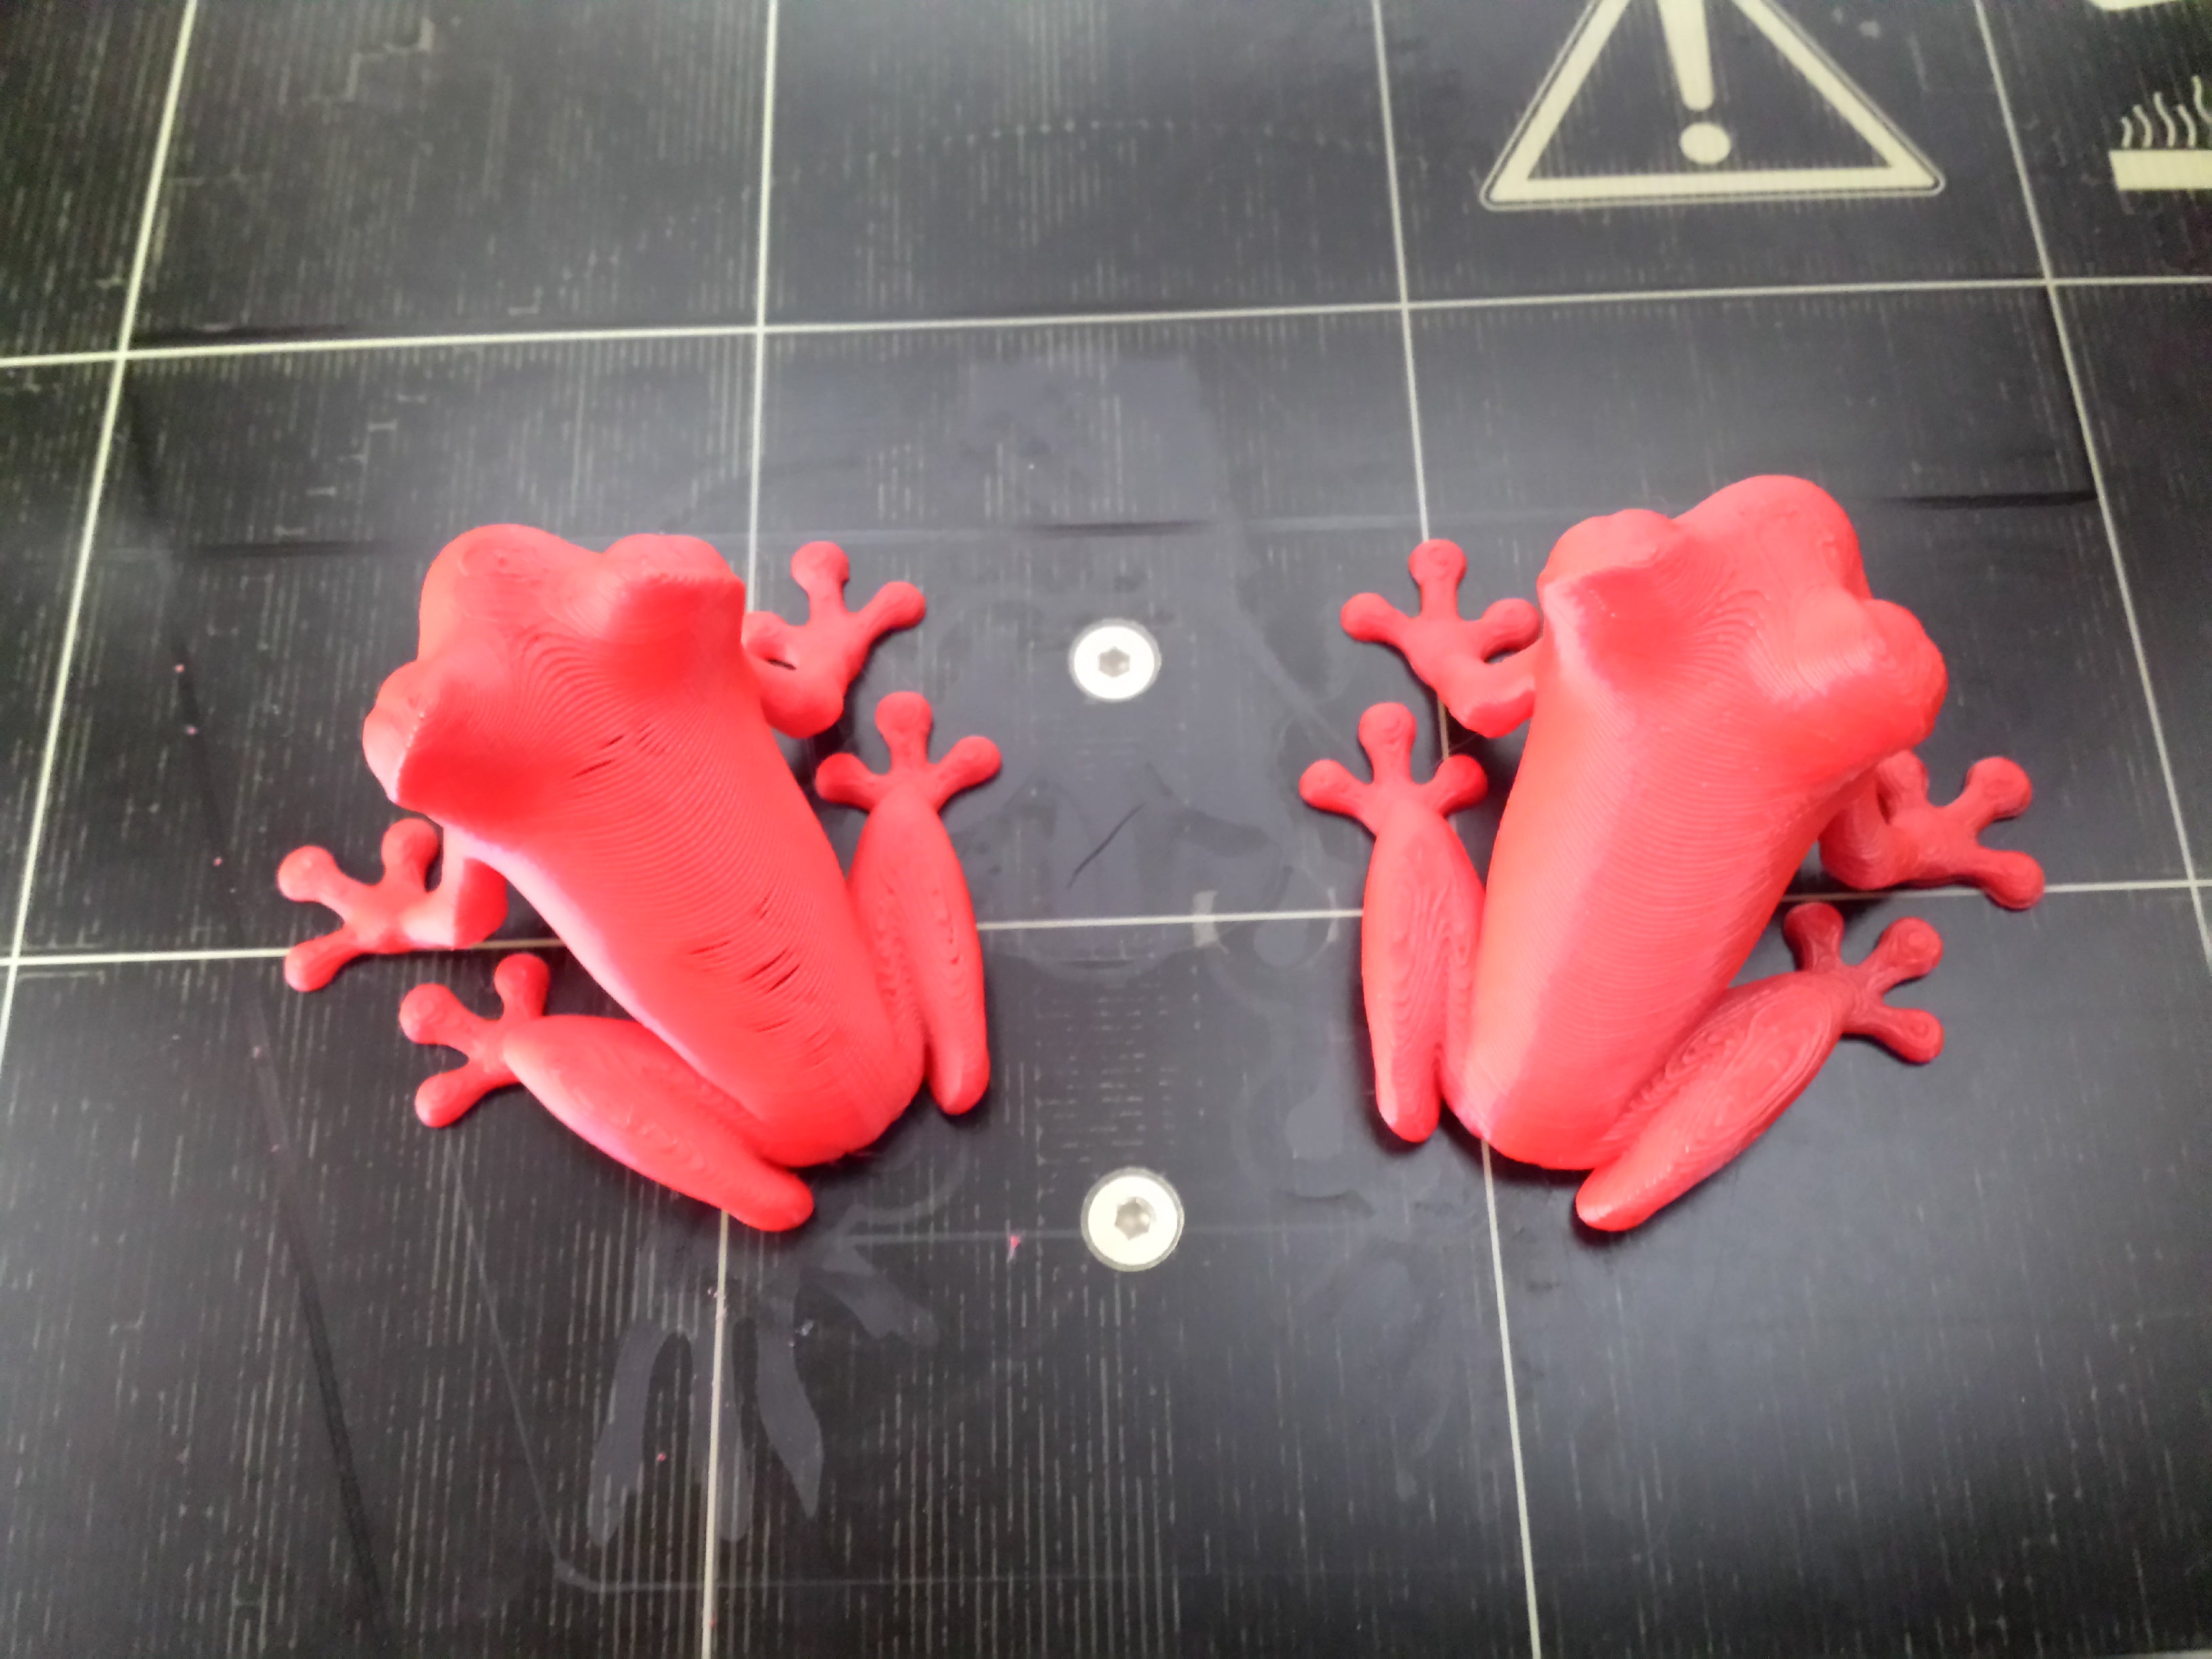
It appears so! Look at the picture comparing the now famous Treefrog from MorenaP. :-)
The Prusa i3 MK2 are now available for pre-sale at Voxel Factory! We wish you will have as much fun as we did assembling, calibrating and using the printer. :-)
- François Lahey